5 steps to success – the correct way of using burrs
In-depth knowledge of how the tool, material and tool drive interact forms the foundation for achieving the best, most economical machining results. In this article, PFERD TOOLS provides specialist and practical knowledge from the world of milling – from choosing the right burr and how to clamp correctly through to selecting the right drive and the right rotational speed.
Step 1 – Choose the right burr
Which burr should I use? What is the most suitable cut?
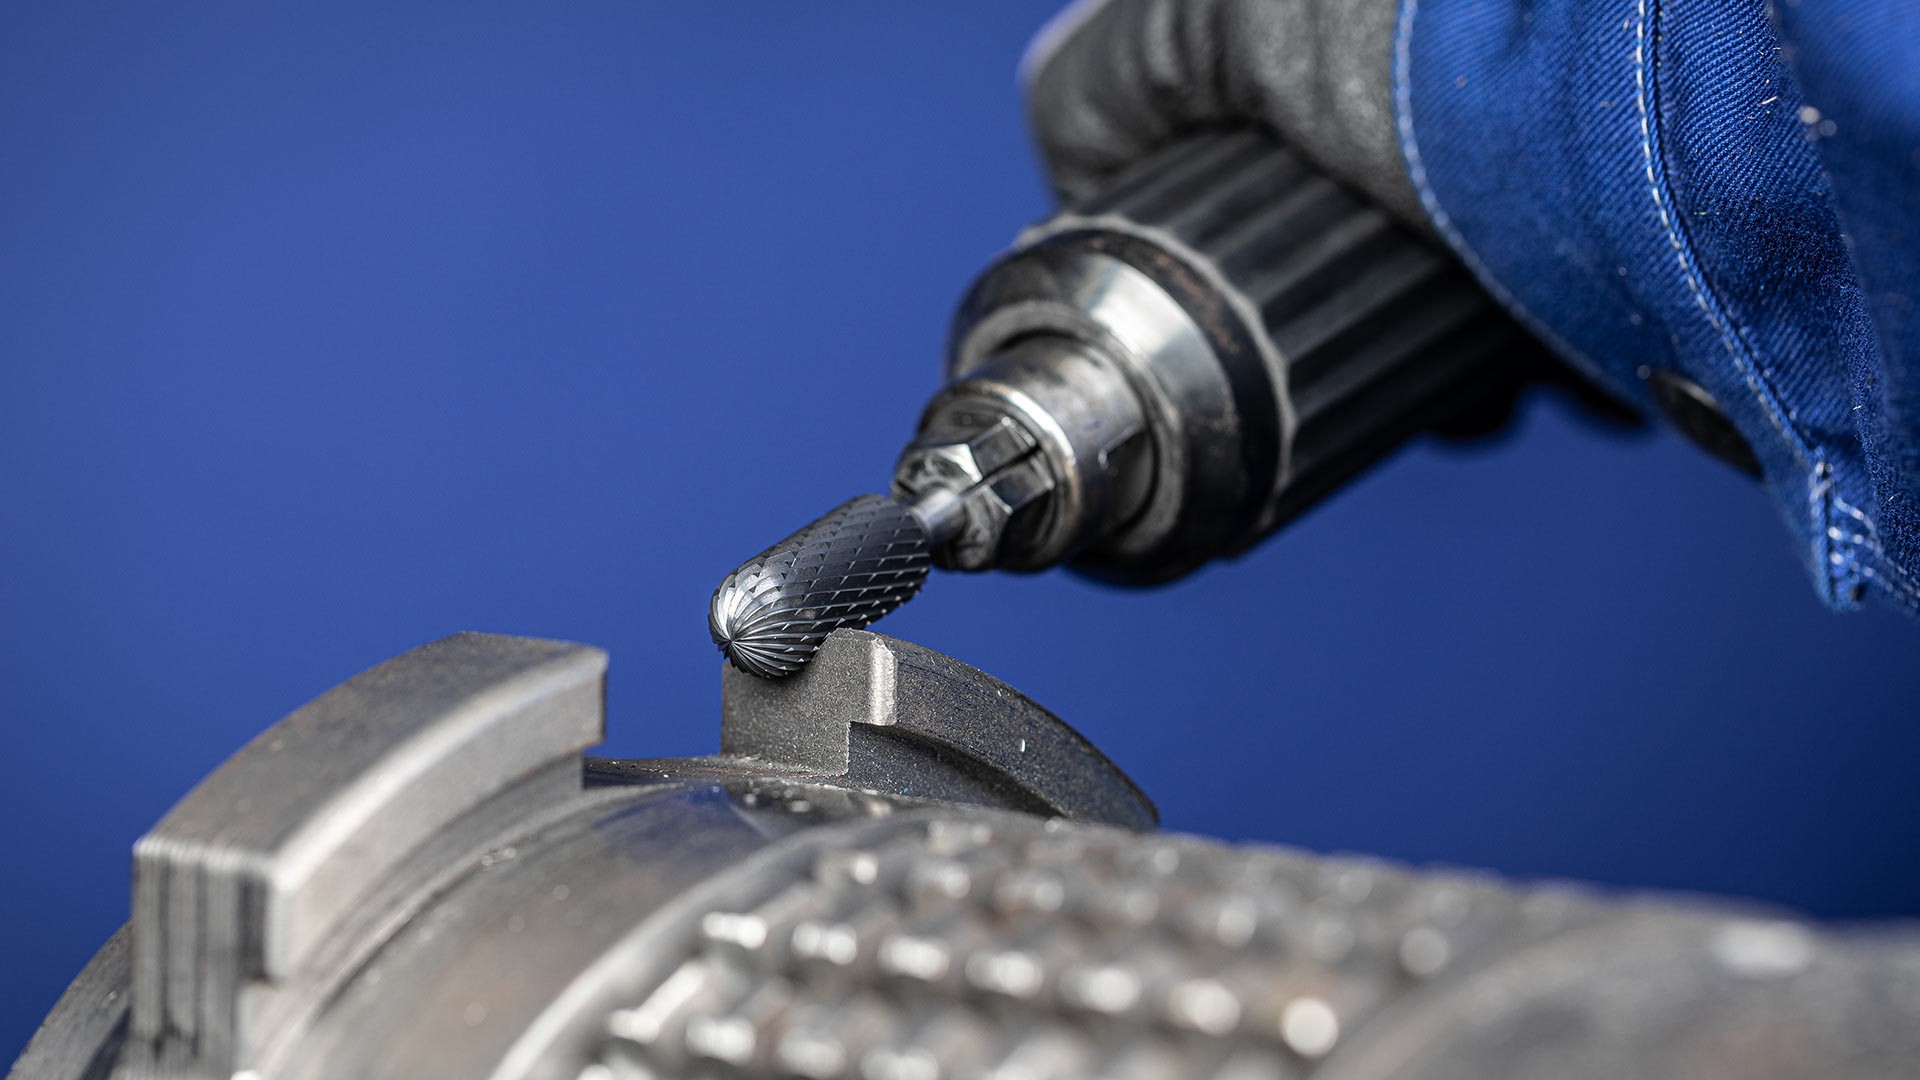
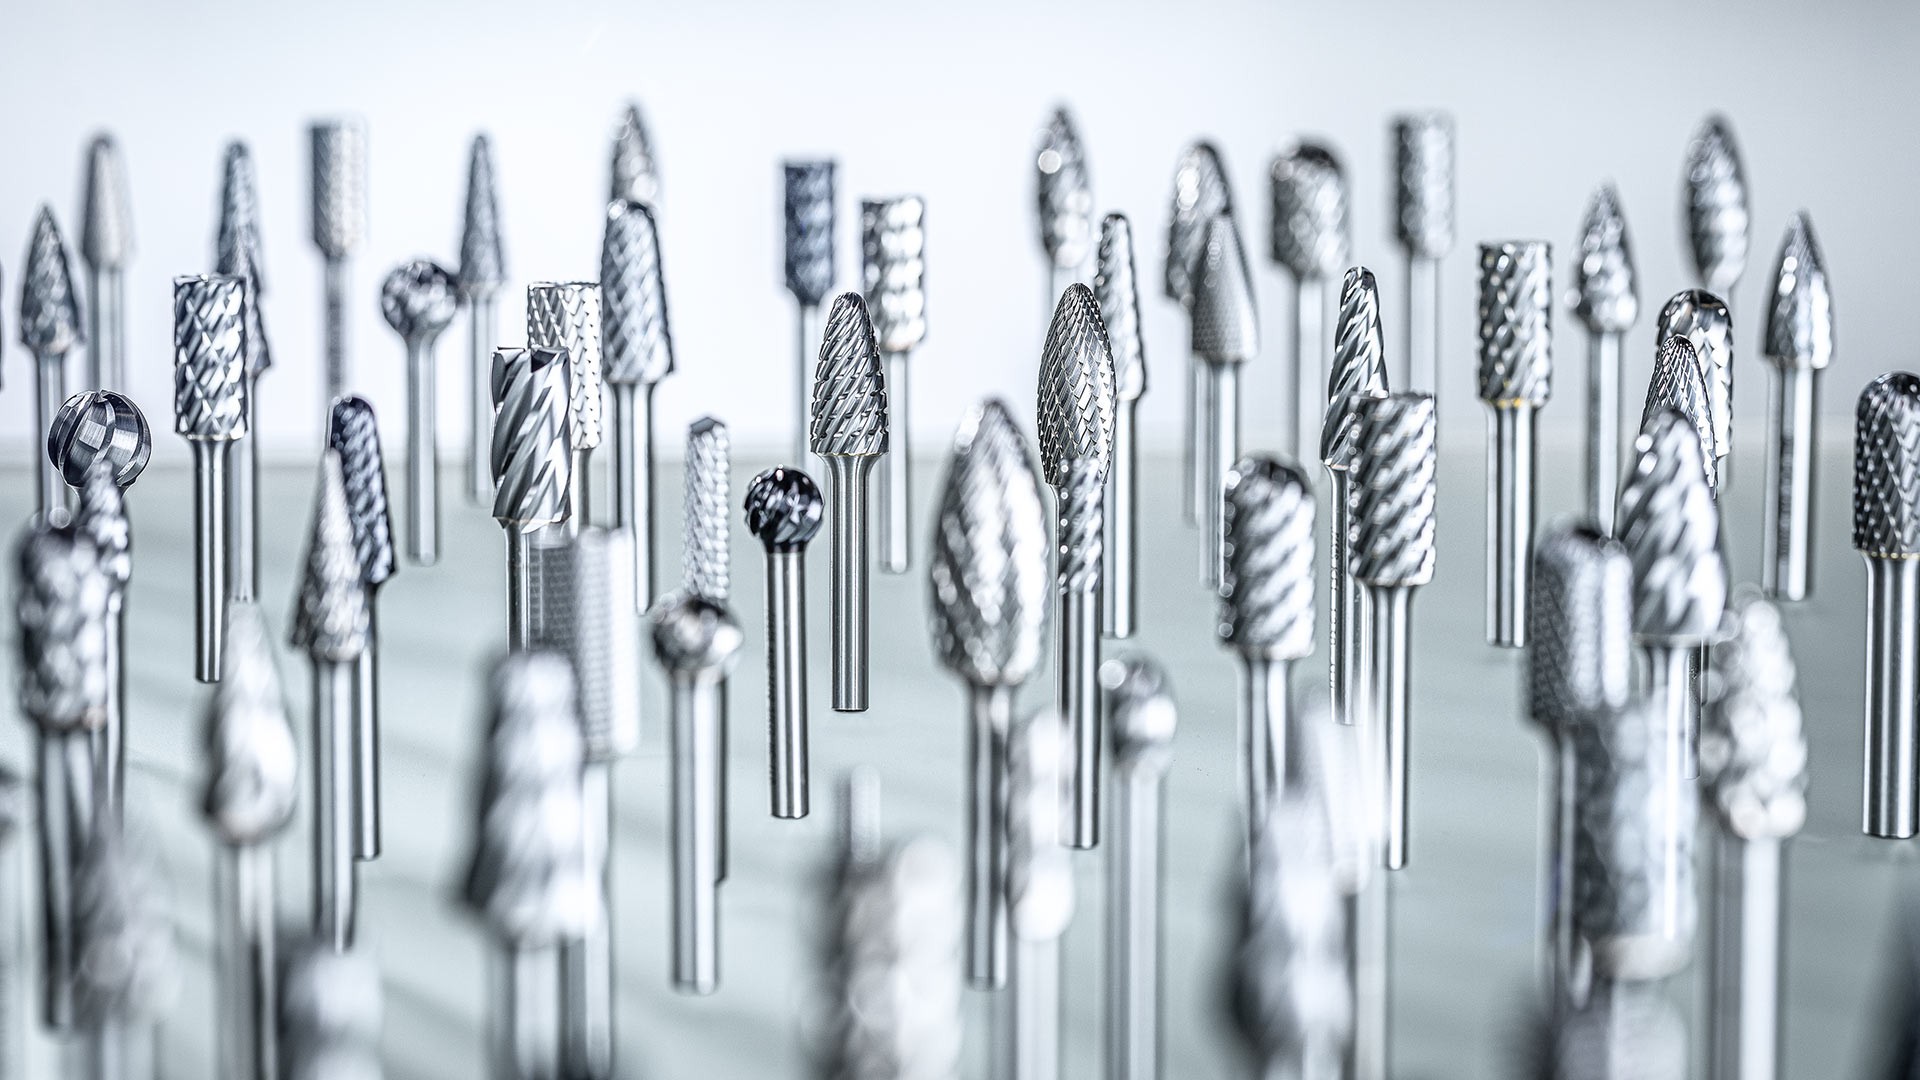
The type of burr that you should use very much depends on the situation. You should select a burr based on the application and the material that you will be working on. PFERD TOOLS offers tungsten carbide burrs for both general and for high-performance applications.
In addition to the vast array of cuts for different materials, the range includes special solutions for finishing work, work on edges and for tough application conditions in dockyards and foundries.
If you would like to know more about the types of burrs that are available, take a look at the overview of TC burrs for high-performance applications.
Step 2: Use the right drive
What types of drives can the burr be used with?
To prevent vibrations, preferably attach the burrs to powerful drives with an elastically supported spindle. Flexible shaft drives, straight grinders, robots and tool machines are all suitable tool drives.
Make sure that you only use rigid clamping systems and drives, as impact on the tool and tool chatter can lead to premature wear.
Step 3: Take safety precautions
How deep should the burr be clamped in?
Once you have chosen the most suitable burr and drive, the next step is to ensure that the burr is clamped securely. To do so, make sure that you clamp the burr far enough into the drive.
As a general rule: the minimum clamping depth must be 2/3 of the shank length.

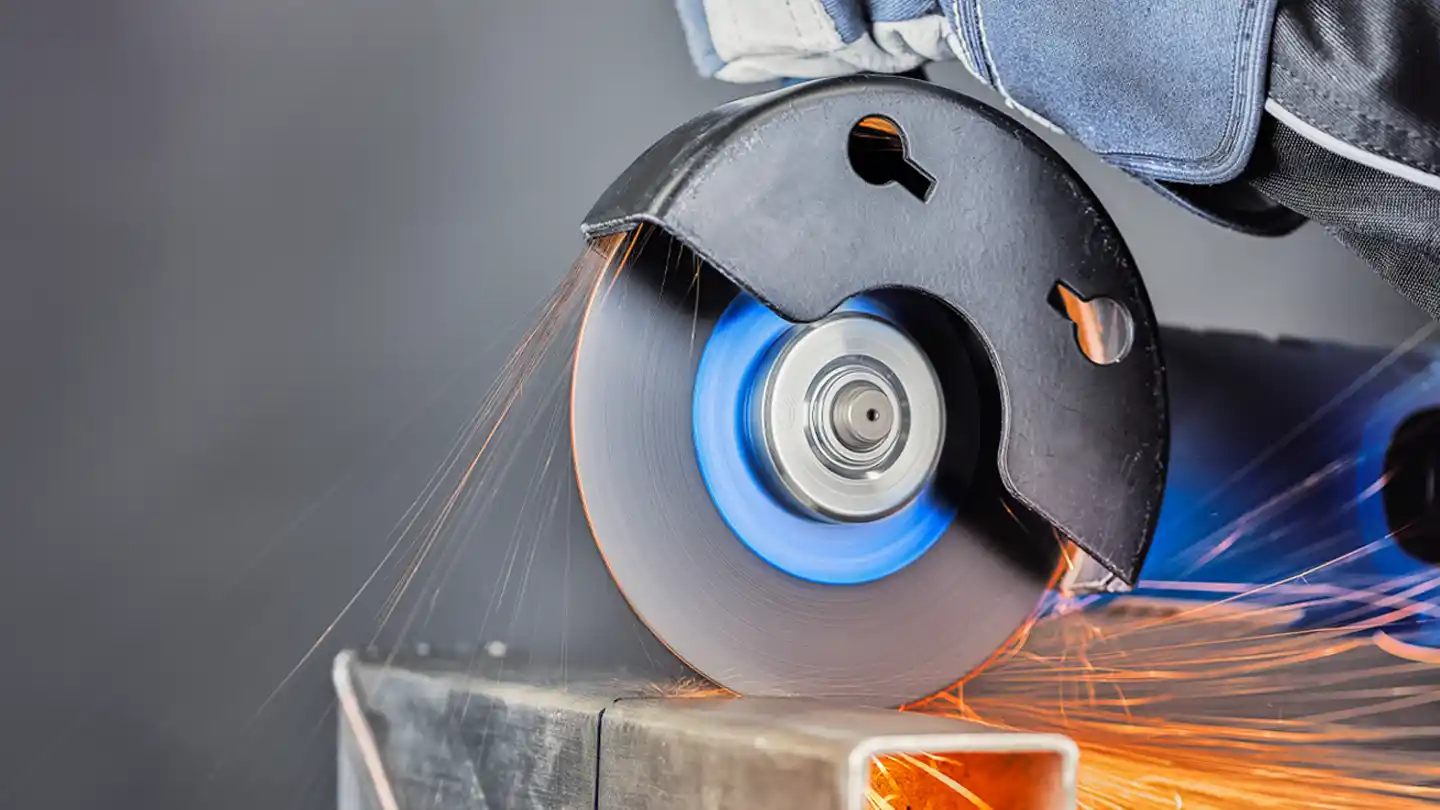
You should also ensure to take the following safety precautions before using the burr:
- Wear eye protection
- Wear hearing protection
- Wearing protective gloves is recommended
- Observe the recommended rotational speeds
Step 4: Set the optimum rotational speed
At what rotational speed should you use the burr?
It is crucial to set the right rotational speed for milling. It is not possible to ensure cost-effective use of tungsten carbide burrs nor achieve the best working results unless you select the optimum rotational speed and power output of the tool drive (air-powered or electric grinders, flexible shaft drive).
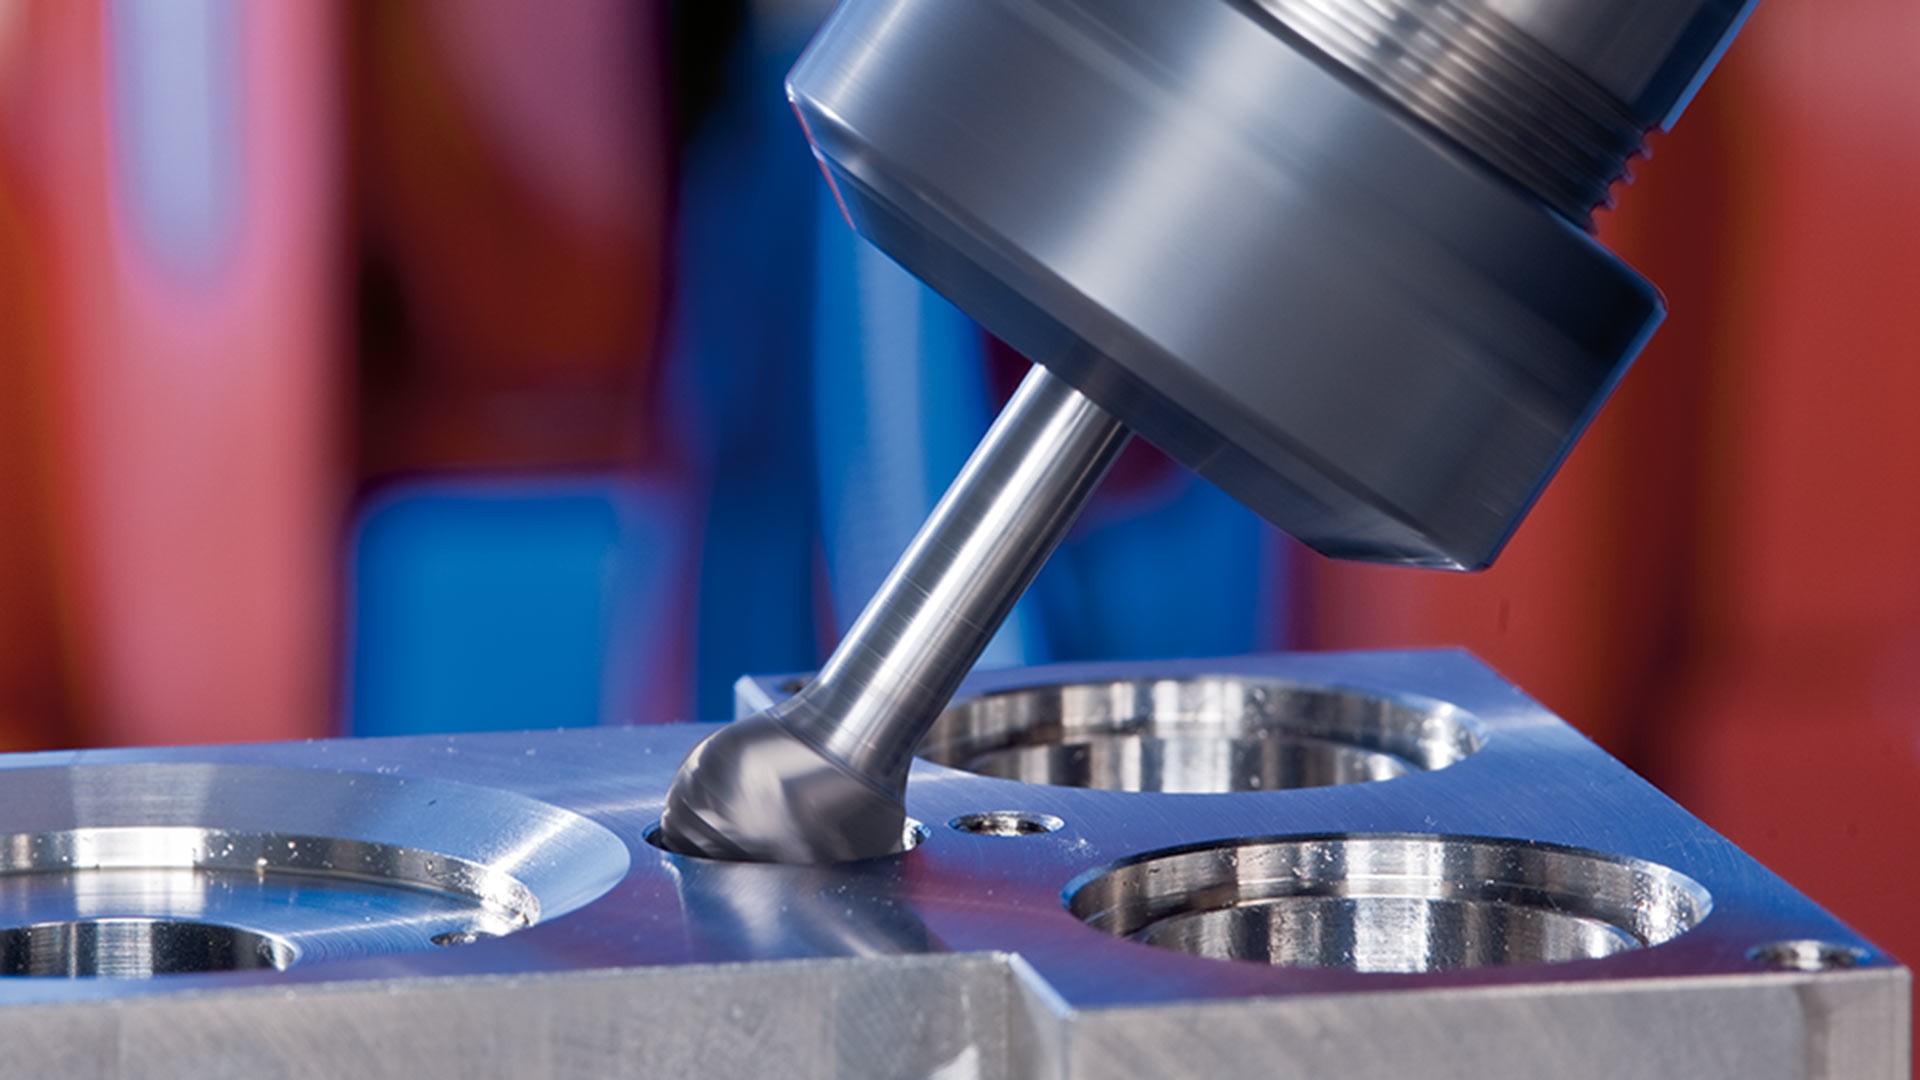

So make sure you always use the recommended rotational speed range when working with burrs. This should be chosen based on the following factors:
- The material you will be working on
- Cut
- Application (fine stock removal or rough stock removal)
- Burr diameter
Another point to remember is that, for costeffective use of burrs with a shank diameter > 6 mm, you need to use a drive output of 300–500 watts when you work with a higher rotational speed and cutting speed range. For applications with low stock removal (deburring, chamfering, minor work on surfaces), the rotational speed can be increased by up to 100%.
Download
Step 5: How to use the tool correctly
What is the right way to use the burr?
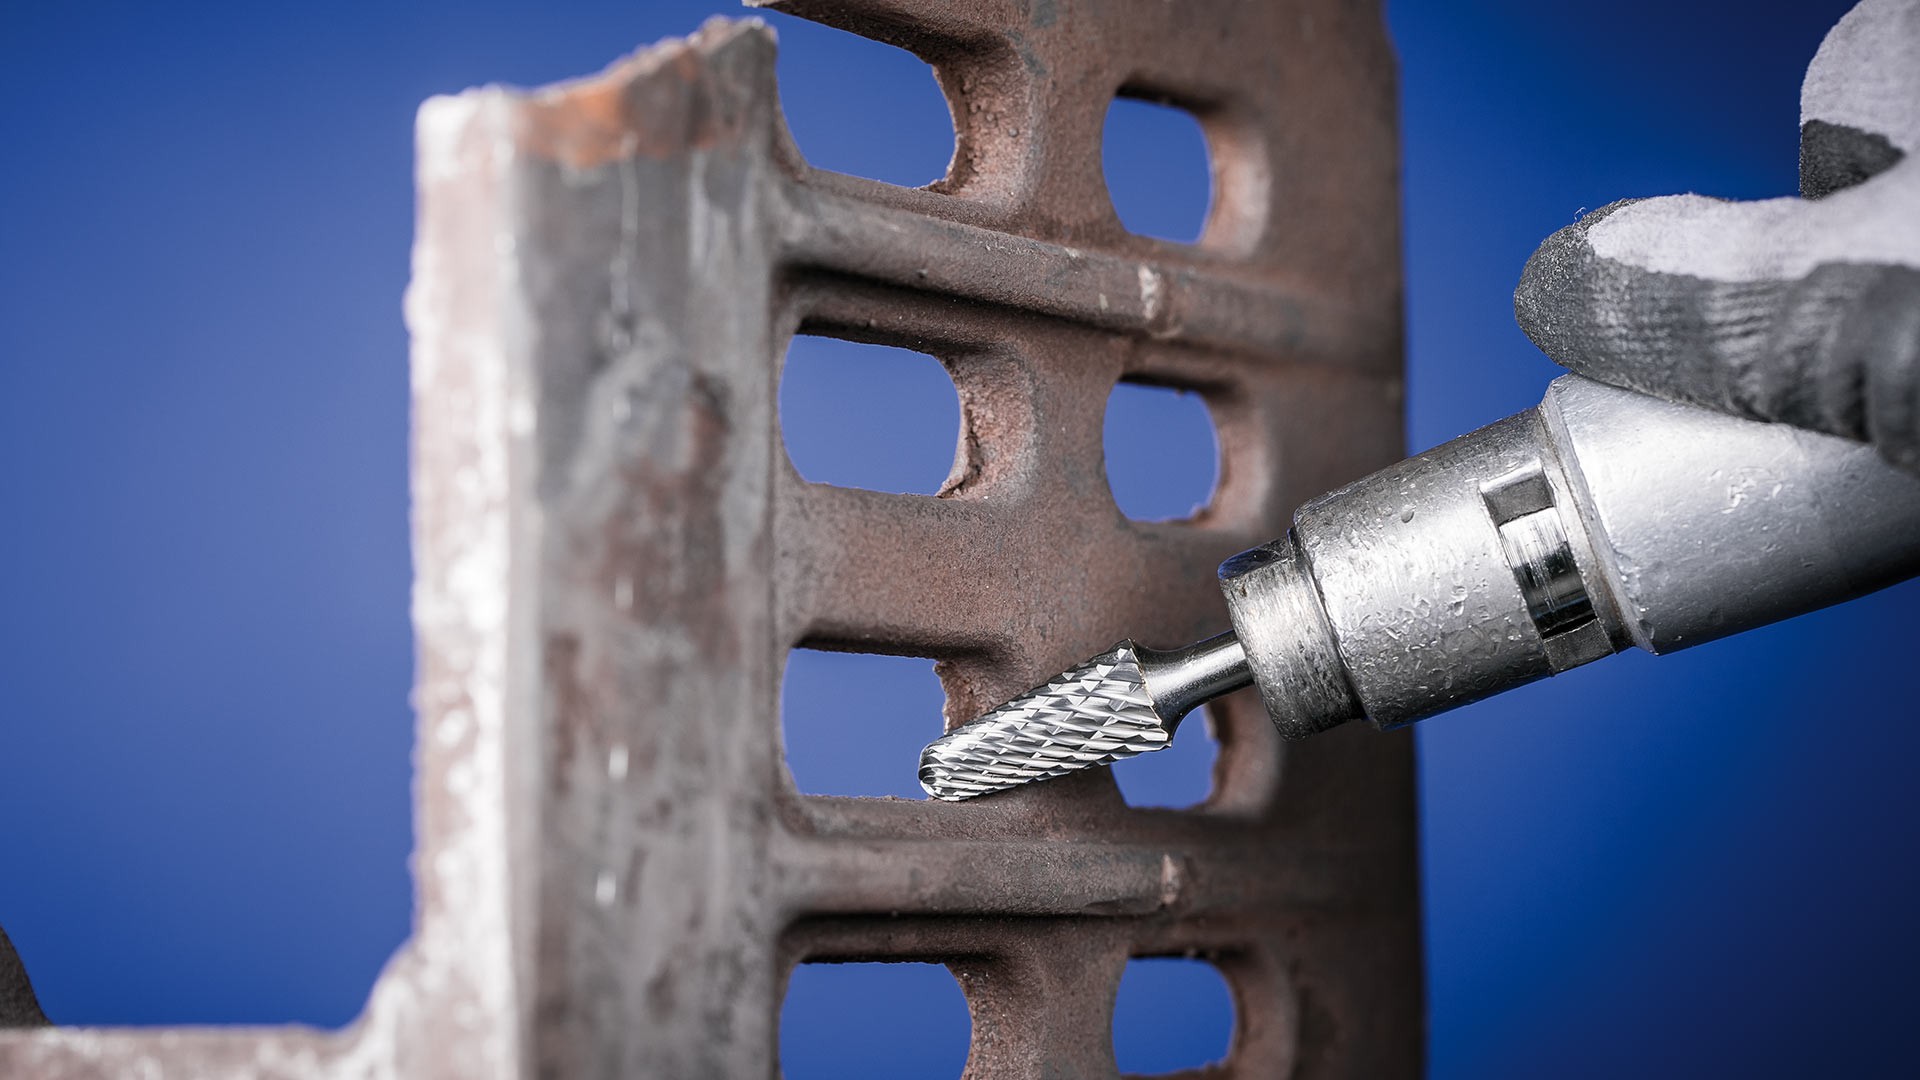
Guide the tool drive with both hands and make sure that the area of the burr that is in contact with the workpiece is no more than 1/3 of the entire circumference. Failure to comply with this recommendation will result in rough milling behaviour and possibly in broken teeth. If this cannot be avoided, PFERD TOOLS recommends using the TOUGH and TOUGHS cuts.
In general, burrs are used counterrotationally or with a swinging motion. You can also use the burr in the direction of rotation if you wish to achieve a fine finish. To do so, pass the tool rapidly over the workpiece.
Specialist tools for finishing work
Discover TC burrs with the MICRO cut.
Please note that when using burrs that have a long shank, there are special rules that have to be observed.
